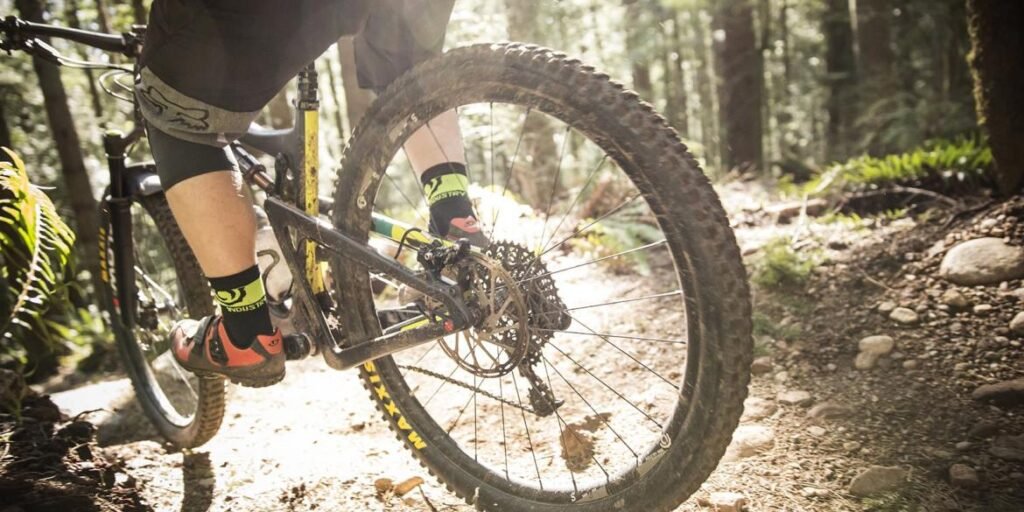
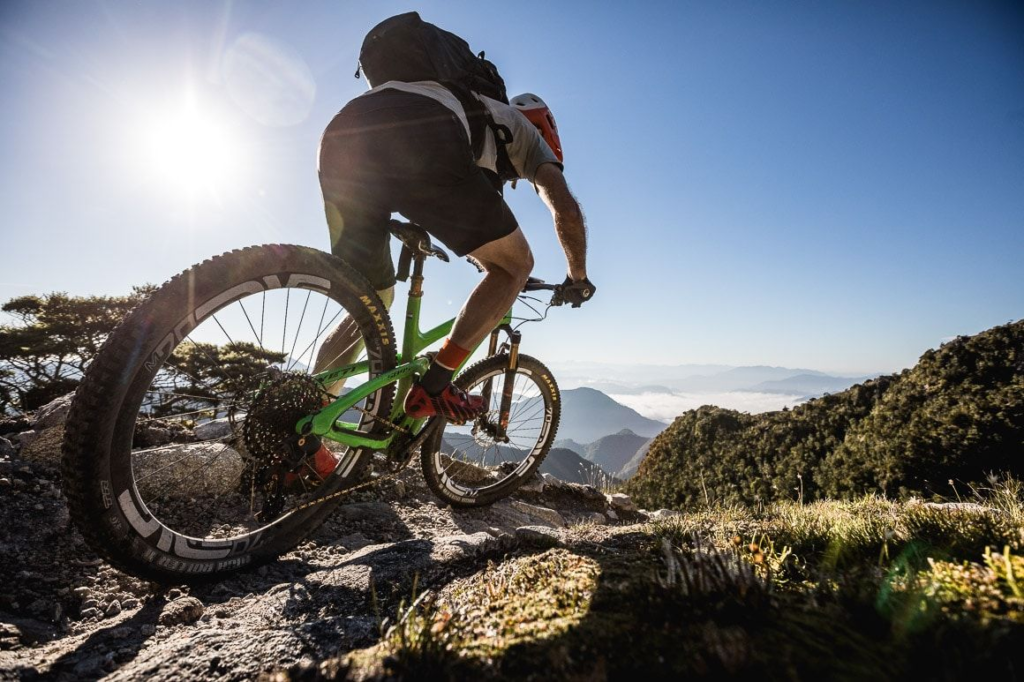
Want to ride a mountain bike does not necessarily have to have a mountain, give you a non-paved road, enough to let you fill the fresh air, full activity, in addition, if in the mountains, in a long way down the mountain to enjoy the beautiful scenery is also a good reward.

But to say, there is mountain bike riding is very different from road cycling, here, we will briefly explain the basic skills of mountain bike riding.
Body Position
Perhaps the biggest secret of successful mountain riders is the control of their body position. Mountain bike rides run over roads including stones, disk roots, ruts, sand, and mud. Varichangeable terrain and potential obstacles, while also a mountain bike ride, are not friendly for beginners. Learning to keep your body in the right position can help you cope with tough road conditions.
In general, we have two body positions: neutral and preparatory positions
Neutral Position

When you ride on non-technical roads, you will want to ride in a neutral position on your bike. This helps you push more efficiently and comfortably while ensuring that you can quickly switch to reserve positions for technical sections. The key points of neutrality include:
Balance the pedal’s left and right center of gravity
Gently bend the knee cap and elbow
Index finger remains 100% brake on standby (lap brake usually requires two fingers to remain on standby)
Eyes look at 4-6 meters ahead. —— Look in the direction you want to go, rather than the direction you don’t want to go
Prep Position

When the local shape becomes steeper or rocky, change the body to a reserve position (sometimes called an offensive position). The preparatory position will prepare you for technical sections, both physically and mentally. Key points of the reserve position include:
Balance the pedal’s left and right center of gravity
Deep knee cover and elbow (elbow 90 degrees, imagine yourself a chicken in cosplay)
The ass leaves the cushion and leans back
The back remains flat and remains almost parallel to the ground
Index finger remains 100% brake on standby (lap brake usually requires two fingers to remain on standby)
Eyes look at 4-6 meters ahead. —— Look in the direction you want to go, rather than the direction you don’t want to go
Adjust your cushion position
Keeping the cushion in position will help you keep the right body position up and downhill.
Climbing: you need to adjust the position of the cushion to maximize the stepping efficiency. When you step down to the lowest point, the knee should bend slightly and stay 80-90% straight. This helps you use your thigh muscles more efficiently and effectively.

Downhill: When going downhill, lower your seat tube by 5-8cm. A lower cushion position will help you lower your center of gravity for better control and greater confidence down the steep slopes. You may need to try many times to find the best cushion position for you.
Go line selection

For beginners, the big mistake is to look at where you want to escape, not in the direction you want to go. Choose a line and then go to the dark, to conquer those difficult road conditions.
So what risks can you take? It mainly depends on your level of skill. A big stake that catches some drivers may be a playground for some drivers. Overall, focus on the scattered rocks, deep sand, water, wet roots, piles, and other riders, hikers, and small animals.
When choosing a route: Scan 4-6 meters in front of your route. Then, look your eyes on the tire. This way, the near and far alternate observation can help you capture a lot of road information. Predicting obstacles in advance can help you adjust your balance faster to choose a more appropriate line.
Stop a bike by applying the brake
The brakes sound easy: pull off the brakes to slow down the car. That’s all about braking, but knowing more about your braking skills can help you with a safe and comfortable riding experience.
How to brake
The brake action should be continuously and controllable. Most brake force should come from the front wheel, but with a brake on the front wheel you will take off directly. Instead, touch the brake lightly, and do so both front and forth. At the same time to avoid the sudden short strong brake, to prevent the rollover.
When braking, move your hips back to prepare, press the heel and keep your elbows slightly bent. This posture helps you shift your weight backward while keeping your bike under control.

If your mountain bike is a disc brake (it isn’t a disc brake), keep each hand index finger on the brake lever and have four fingers left to handle the handlebars. This allows you to continuously handle the bike while still responding quickly to the brakes. If you use the ring brake, try using two fingers on the brake lever, because the ring brake will be more laborious than the disc brake.
When to brake
When approaching the curve, brake before entering the corner and then allow the remaining kinetic energy and inertia to help you cross the corner. This allows you to focus on handling skills at corners and go out at a certain speed.
Inertia is sometimes a good friend of yours when you cross obstacles. Beginners, usually slow down early when meeting obstacles. Controlled inertia can help you easily visit guests and overcome difficult mountain sections.
Shift
Since mountain rides are mostly up and down, it’s best to know how to shift gears properly. Reasonable shift habits can not only reduce vehicle wear (especially transmission components such as chains, dental discs, and flywheels) but also help you go up and downhill more efficiently.

Frequent shift changes: beginners should practice more on how to improve the shift frequency. This allows you to build muscle memory, allowing you to add and subtract gears without needing attention.
Early shift: Don’t wait until you start to climb before you shift! Always remember to shift gears before you get to the steep slope. This allows you to keep a steady tread frequency and thus maximize power. At the same time, you also prevent some strange shift operation while putting force on the transmission system, which will make your chain fall off or even break.
If you encounter some bottlenecks when choosing the right terrain, you would rather go around at low speed than pedal at high speed.
Another important rule is to prevent chain dislocation. This often happens when the chain is mounted to the small plate and small fly or the large plate and big fly. This occurs frequently in either 2x or 3x systems. The chain dislocation may cause you to drop the chain; it may cause your chain to overstretch and shorten life. Of course, now the pure mountain cross-country has been occupied by the single disk system.
Finally, always remember to keep trampling when changing gear, and not keeping the tread frequency will damage or even directly break the chain.
Fall the bike
No one likes to fall, but when you ride a mountain bike, you will inevitably fall.

Carry the bike
When you ride on the forest road, you will always encounter some difficult road conditions. If you’re stuck in the forest road, don’t “cross your car.”Want to get out of trouble?Dream?
There’s no shame to stop and walk over. Hiking is an acceptable part of mountain bike sports. Many forest roads have specially designed sections that are difficult to ride through and can only carry cars on foot.

Forest road etiquette
Mountain bike sports often share forest trails and routes with others, such as hikers or horses. Always remember to be a polite, responsible driver, and manage your car well. Ride only on those forest trails open for mountain bikes. Here are a few very important rules:
Always rely on the right to make way for the uphill driver (in the unicycle path, it is best to stop to move the route).
Slow down when approaching hikers or animals and leave them full width. Keep calm and listen when meeting meets animals on the road.
Let other players know that you want to meet them with —— warmly say hello!
From www.biketo.com


